TL;DR
- Vinyl siding must be soft washed, not pressure washed. High pressure forces water behind the laps and into the wall cavity.
- Green algae and mildew are the main culprit on shaded or coastal walls. A sodium hypochlorite and surfactant mix kills them fast.
- Apply bottom-up to prevent streaking, rinse top-down, and never spray upward under the lap panels.
- Chalky white oxidation on older vinyl can be improved with cleaning, but badly oxidized siding may still look dull even after a thorough wash.
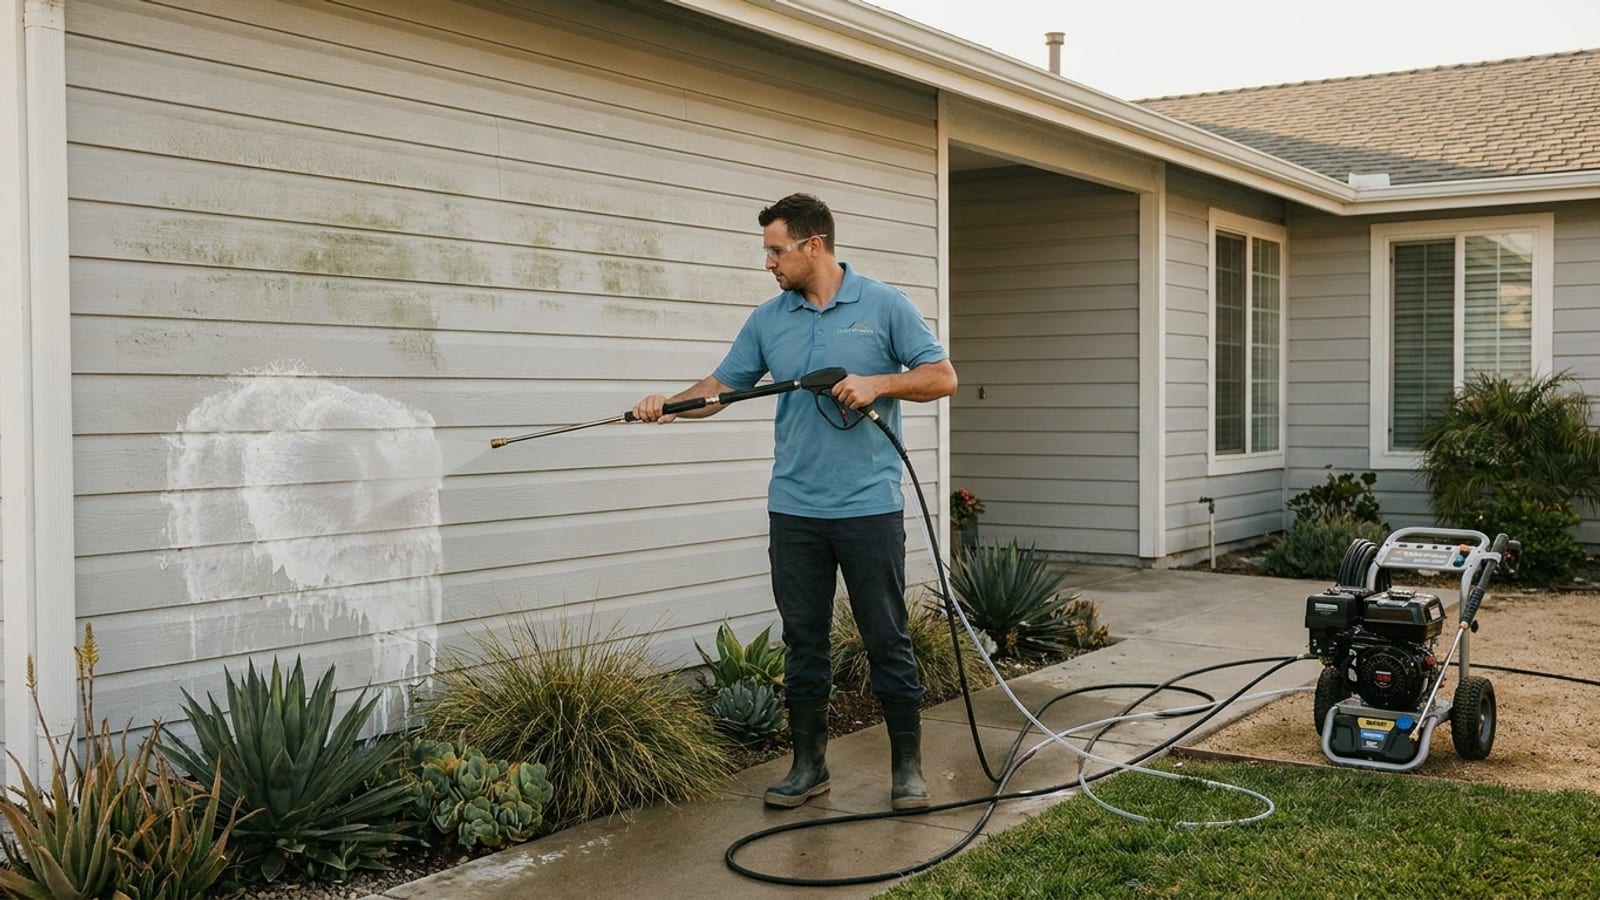
Vinyl siding looks low-maintenance until the north side of the house turns green, or you notice a chalky white film where it used to be bright white. Both are fixable, but how you fix them matters. Grab a pressure washer and blast at full power and you’ll force water into the wall cavity, set up conditions for mold and rot behind the panels, and maybe crack older brittle vinyl while you’re at it.
The right method is soft washing: low pressure, the right chemistry, and patience. It works better than brute force and won’t cost you a wall repair. Here’s how to do it.
Why high pressure is the wrong tool for vinyl siding
Lap siding is designed to shed rain from the outside, not handle pressurized water from below. The panels overlap in a way that leaves a gap along the bottom edge of each course. That gap exists on purpose for drainage and thermal movement. When you point a pressure wand at it, especially from below, water travels straight into the wall cavity.
In a coastal San Diego home in La Jolla or Carlsbad, that cavity already deals with marine-layer humidity. Add trapped pressure-washed water and you’ve created an ideal environment for mold and wood rot behind the sheathing. The damage is invisible until it’s expensive.
Older vinyl (10 to 15-plus years) also becomes brittle with sun exposure. A 2,500 PSI tip held too close to aged panels can crack or deform them. Replacements run $3 to $8 per linear foot for material alone, plus labor.
Beyond the structural risk, high pressure doesn’t even do a better job on vinyl. The green algae you’re trying to remove is biological. It responds to chemistry, specifically sodium hypochlorite, not mechanical force. You can blast the color off temporarily, but the root system stays embedded and comes back faster. Kill it with the right mix and it stays gone longer.
What you’re actually dealing with: the two main problems
Green algae and mildew
This is what makes north-facing walls, shaded siding, and the underside of soffits go green or gray-green. In San Diego County, coastal areas like Encinitas, Del Mar, and Oceanside get consistent marine layer, which means sustained moisture and low UV on north-facing exposures. That combination is ideal for gloeocapsa magma and similar algae species.
Mildew looks similar but is a lighter gray-black and tends to appear more in areas with even less airflow, under eaves, behind large shrubs, near downspouts. Both respond to a sodium hypochlorite mix, though mildew may need a slightly longer dwell time.
Chalky white oxidation
Oxidation is a surface weathering process. UV breaks down the titanium dioxide pigment in the vinyl over time. The result is a chalky, faded look that doesn’t wipe off with your finger like dirt does. On older white or off-white siding, the whole house can take on a dull, worn look even when it’s technically clean.
Cleaning removes the organic buildup sitting on top of oxidized vinyl and makes a real difference. But if the oxidation is severe, the vinyl itself is degraded, and no amount of washing will fully restore the original color. Set that expectation before you start. If cleaning doesn’t satisfy you, repainting or replacing the siding is the next option, but that’s a different project.
What you need before you start
For a soft wash on vinyl siding, you don’t need a high-pressure machine. A standard 1,500 to 2,000 PSI electric pressure washer is more than enough, and a dedicated soft-wash pump system is better if you have one. The goal is delivery at low pressure, not force.
Nozzle. A white 40-degree tip or a dedicated downstream soap nozzle. Never a 0-degree red tip, never a 15-degree yellow tip near vinyl.
Soft-wash mix. The standard professional mix is sodium hypochlorite (pool-grade, 10 to 12.5 percent) diluted to about a 1 to 3 percent active concentration on the surface, plus a surfactant to help it cling. A simple ratio: 1 part 12.5% SH to 5 or 6 parts water, plus an ounce of a liquid dish soap or dedicated surfactant like EBC Elemonator per gallon of mix. For a heavy algae situation, bump to 1:4 dilution.
Pump-up sprayer or downstream injector. For a single-story home, a 2-gallon pump-up garden sprayer works for the chemistry application. For a full two-story, a downstream injector on your pressure washer, or a dedicated 12-volt soft-wash pump, makes the job manageable.
Garden hose and spray nozzle. For pre-wetting landscaping and for the final rinse.
Total cost to DIY a single-story home is roughly $25 to $50 for chemicals and any supplies you don’t already have. A professional soft wash for a typical San Diego house runs $200 to $450 depending on size, story count, and algae load.
The method, step by step
Pre-wet everything nearby
Before any chemistry touches the house, soak down all landscaping within 10 feet of the walls, grass, shrubs, flowers, everything. Sodium hypochlorite at cleaning concentration can burn plant leaves, especially in warm weather. A thorough pre-wet before application and a thorough rinse after is enough protection for most plants. For sensitive species, drape plastic sheeting over them for the duration.
Wet down any painted trim, window frames, and screens as well. Pre-wetting prevents the mix from drying on surfaces it shouldn’t linger on.
Mix and apply bottom-up
Mix your sodium hypochlorite and surfactant solution and load it into your pump-up sprayer or downstream injector.
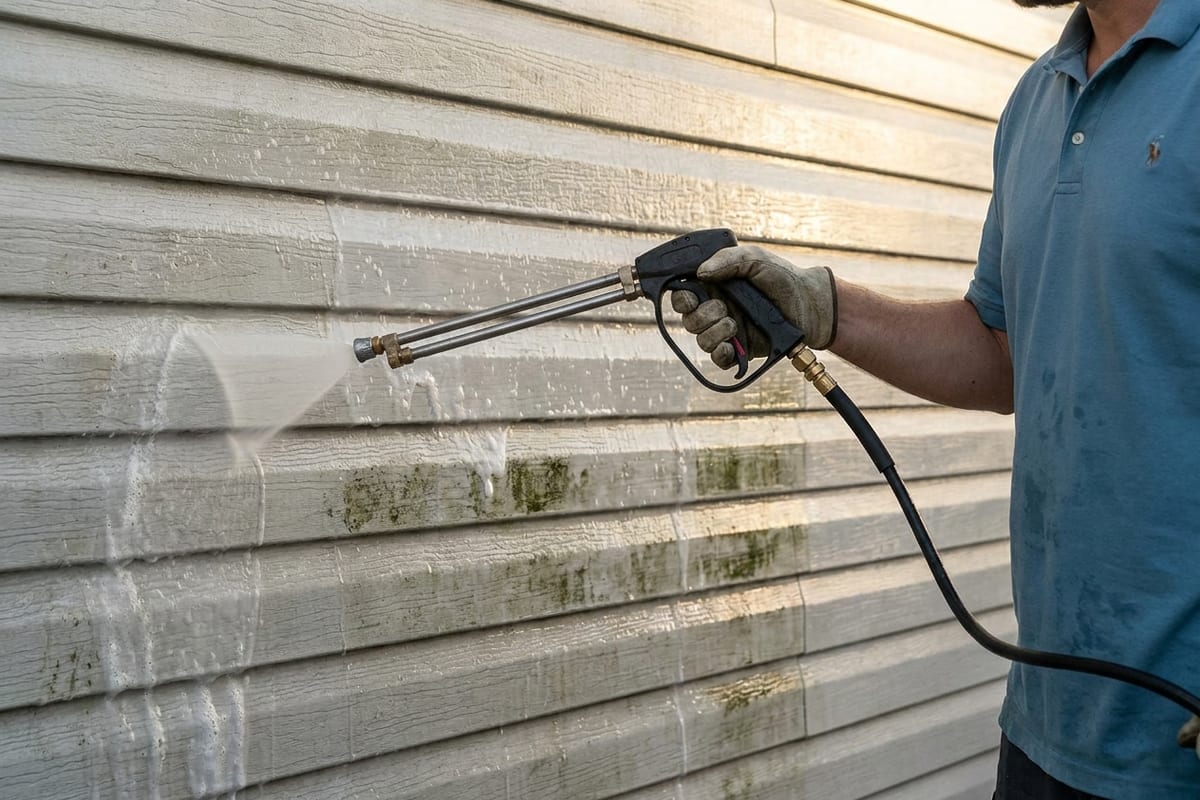
Start at the bottom course of siding and work upward. This is the part most people get backwards. When you apply top-down, the solution runs down over dry siding and creates visible tide marks as it dries. When you apply bottom-up, you’re working into already-wet surface and the chemistry distributes evenly.
Apply with your 40-degree tip or spray head at low pressure, just enough to coat the surface. You’re not trying to force it in, just wet the siding evenly. Keep your spray angle parallel to the siding or slightly downward. Never point upward under the lap gaps.
Let it dwell
Give the solution 5 to 10 minutes of dwell time. You’ll see the green algae start to change color, going lighter or yellowish as the sodium hypochlorite kills the cells. Heavy buildup may need a second application and another dwell period.
Don’t let the solution dry on the siding. In full San Diego sun on a warm day, that can happen in under 10 minutes. Work in sections if needed, applying to one wall at a time rather than doing the whole house at once. Mist any section that starts to dry before you’re ready to rinse.
Rinse top-down
Once dwell time is complete, rinse from the top down with a gentle flow, either a garden hose on a low-pressure setting or your pressure washer with the 40-degree tip at a distance of 3 to 4 feet. Work in smooth, even strokes from the top course toward the ground.
Rinsing top-down clears the loosened biological material down and off the wall without streaking over the sections you’ve already cleaned. Take your time on windows, trim, and any detailed areas where chemistry could pool.
Rinse all surrounding landscaping again after you’re done with the house.
Check for stubborn spots
Some areas with heavier oxidation or dense mildew buildup may need a second pass with fresh chemistry. Apply, dwell, rinse again. On corners and under eaves where spray angles are awkward, a pump-up sprayer gives you more control than a pressure wand.
What not to do
Zero-degree tip anywhere near siding. A 0-degree red tip concentrates thousands of PSI into a pinhole contact point. It will crack older vinyl, dent newer vinyl, and blow gaps in your lap seams. There is no situation where this nozzle belongs on a siding job.
Spraying upward under the laps. The whole point of soft washing is to avoid driving water behind the panels. Even at low pressure, angling your spray upward under the gaps defeats that. Keep your spray horizontal or angled slightly downward.
Letting the mix dry on the wall. Dried sodium hypochlorite can leave a residue, especially over window trim or darker siding. Work in sections and keep your dwell times honest.
Leaving chemistry on plants. Pre-wetting helps, but it’s not a complete shield. Rinse all surrounding plants and grass once you’re done. If you’re working in summer heat, rinse plants mid-job as well if they’re starting to look stressed.
Ladder-plus-wand for a two-story home. Reaching two-story siding with a pressure wand on a ladder is genuinely dangerous. The kickback from a wand at height is unpredictable. A two-story exterior soft wash is one of the clearest cases where the pro call is the right one.
Handling oxidation specifically
For light oxidation, the soft wash described here will remove the surface grime and leave the siding looking noticeably better. The vinyl underneath may still look slightly chalky compared to its original color, but clean chalky is better than dirty chalky.
For moderate oxidation, some contractors use a vinyl restorer product after cleaning, applied with a soft brush or low-pressure spray. These products can temporarily improve color and add a mild protective coat. Results vary, and they’re not a permanent fix.
For heavy oxidation where the surface is visibly rough, pitting, or cracking, cleaning is not going to restore the appearance. At that point the conversation shifts to repainting the vinyl or replacing it. A house washing estimate from a pro will usually include an honest assessment of where the siding stands.
When to call a pro
Some vinyl siding jobs are straightforward enough for a confident DIYer with an afternoon free. Others should be handed off.
Call a professional when:
- The house is two stories. Reaching upper courses safely requires a soft-wash system with extension wands or professional equipment, not a ladder and a rented unit.
- You have a large home, anything over 2,500 square feet of siding is a full day of labor and significant chemical volume.
- The algae situation is severe or has been ignored for multiple years.
- You have stucco, wood trim, or painted surfaces adjacent to the vinyl. These materials respond differently to sodium hypochlorite and need careful masking or professional technique to avoid bleaching.
- You want the oxidation addressed as thoroughly as possible. Pros have access to stronger SH concentrations and multi-stage approaches that go further than a single DIY pass.
For the full picture on soft washing a San Diego home, the guide to soft washing your house covers adjacent materials and full-exterior methodology. And if you’re comparing approaches, pressure washing vs power washing vs soft washing breaks down when each method applies.
Our house washing service covers vinyl siding, stucco, wood siding, and painted surfaces across all of San Diego County. We use professional-grade soft wash equipment and pre-diluted SH at the right concentration for your specific siding age and condition. Most single-story homes take 60 to 90 minutes on-site.
For a fast, accurate quote, call (858) 925-5546 or request one online. Upfront pricing, no surprises. We serve the full county, from Oceanside and Carlsbad south to Chula Vista and east to El Cajon, Santee, and Poway. For more on what we cover across San Diego, see our San Diego pressure washing services.