TL;DR
- Pavers in San Diego typically need re-sanding every 2 to 4 years and sealing every 3 to 5.
- Sand always goes in first, then sealer. Reverse that order and nothing works right.
- Use polymeric sand (Alliance Gator or SEK Kolorbind) for joints. Don’t use plain sand from the bag store, it washes out.
- Signs it’s time: loose pavers, sand visibly missing from joints, color fading, weeds growing between stones.
- Resealing over worn sealer without cleaning first produces a cloudy, peeling finish within a year.
Pavers look like a set-and-forget hardscape. You laid them, they look great, they should stay that way. They don’t. Pavers move, joint sand erodes, sealer wears off, and eventually you end up with ant hills in every joint and stones that rock when you walk on them. The fix is regular re-sanding and resealing on the right schedule. Here’s what that schedule looks like for San Diego homes, why paver sealing matters for the substrate and not just the color, and how to spot the signs that it’s time.
Why pavers need ongoing maintenance
Unlike a concrete slab, a paver installation is a mechanical system. Each stone sits on a compacted base of crushed stone and sand, held in place by a surrounding edge restraint (a plastic or metal strip buried at the perimeter) and by joint sand filling the spaces between stones. That joint sand does three jobs:
- Locks the stones together. Individual pavers can’t move if sand fills every millimeter of space between them.
- Stabilizes the base below. Water that seeps between pavers carries fine base material away unless sand stops it.
- Keeps weeds and ants out. No space, no ant hill, no weed sprout.
When joint sand erodes, from rain, pressure washing, irrigation, or plain wind, the entire system starts to fail. Pavers shift slightly with every step. Water reaches the base and starts washing sand out. Ants move in. Weeds sprout. Within a couple of years of neglected joints, you’re looking at a partial re-installation instead of just a re-sand.
When to re-sand
The honest San Diego schedule for residential paver patios and driveways:
- Every 2 years for high-traffic areas (walkways, pool decks, driveways with daily vehicle use)
- Every 3 to 4 years for light-use patios and back walkways
- Whenever you’ve pressure washed the pavers: cleaning always blows out at least some of the joint sand
The visual signs that re-sanding is overdue:
- Sand visibly below the paver edge (you can see a 1/8 inch or more drop between the top of the stone and the top of the sand)
- Weeds or ant activity in the joints
- Stones that wobble when you step on them
- Sand migration visible after rain (piles of sand at the downhill edge)
- Sealer has worn off in high-traffic paths (color looks lighter there)
The right sand to use
The only joint sand worth using in modern paver installations is polymeric sand. It’s a blend of silica sand and a polymer binder. Once installed dry and then activated with water, the polymer sets and the sand essentially becomes a flexible solid, holds together, resists wash-out, keeps weeds from sprouting.
The two brands that dominate the California market:
- Alliance Gator: standard for most pros. Works well with 1/16 to 4 inch joint widths. Good color selection.
- SEK Kolorbind: equivalent quality, sometimes preferred for wider joints (up to 6 inches).
Don’t use:
- Plain mason’s sand or “paver sand” from the 50-pound bag, it’s too fine, washes out within one rain cycle
- Sidewalk sand / play sand: wrong particle size, wrong composition
- Rotor sand or fine cement mix: creates a rigid, brittle bond that cracks
Polymeric sand runs $25 to $45 per 50-pound bag. A typical residential paver patio takes 2 to 4 bags for a full re-sand. Not cheap but far cheaper than re-laying pavers.
Step-by-step re-sanding
1. Clean the surface first
Before sanding, the pavers need a thorough cleaning. Pressure wash with a surface cleaner (same method as concrete cleaning, see how to clean concrete for the full pressure-wash method). Let dry at least 24 hours.
2. Remove old joint sand
Use a stiff broom and a shop vac to remove loose old sand from the joints. For polymeric sand that has hardened partially, a straight screwdriver or joint knife can help break up and dig out the top layer. You want the joints clear at least 1 inch deep.
3. Ensure pavers are completely dry
Polymeric sand can’t be applied to wet pavers. Moisture on the paver surface activates the polymer prematurely and you end up with a hazy film on the stones that’s nearly impossible to remove. Let the pavers dry for 24 to 48 hours of dry weather before sanding.
4. Sweep sand into the joints
Pour polymeric sand on the paver surface. Use a stiff push broom to sweep it across the pavers and into the joints. Keep sweeping until every joint is full to the top of the pavers’ chamfered edge.
5. Vibrate and re-top
A plate compactor with a padded attachment works pavers lightly, settling the sand into the joints. DIY alternative: walk the patio firmly, then re-sweep more sand into any joints that settled. Repeat until joints are completely full and level.
6. Blow off excess
A leaf blower or soft brush removes excess sand from the paver surface. Every grain needs to be off the surface before water activation, any sand left on top will bond hazy to the paver face.
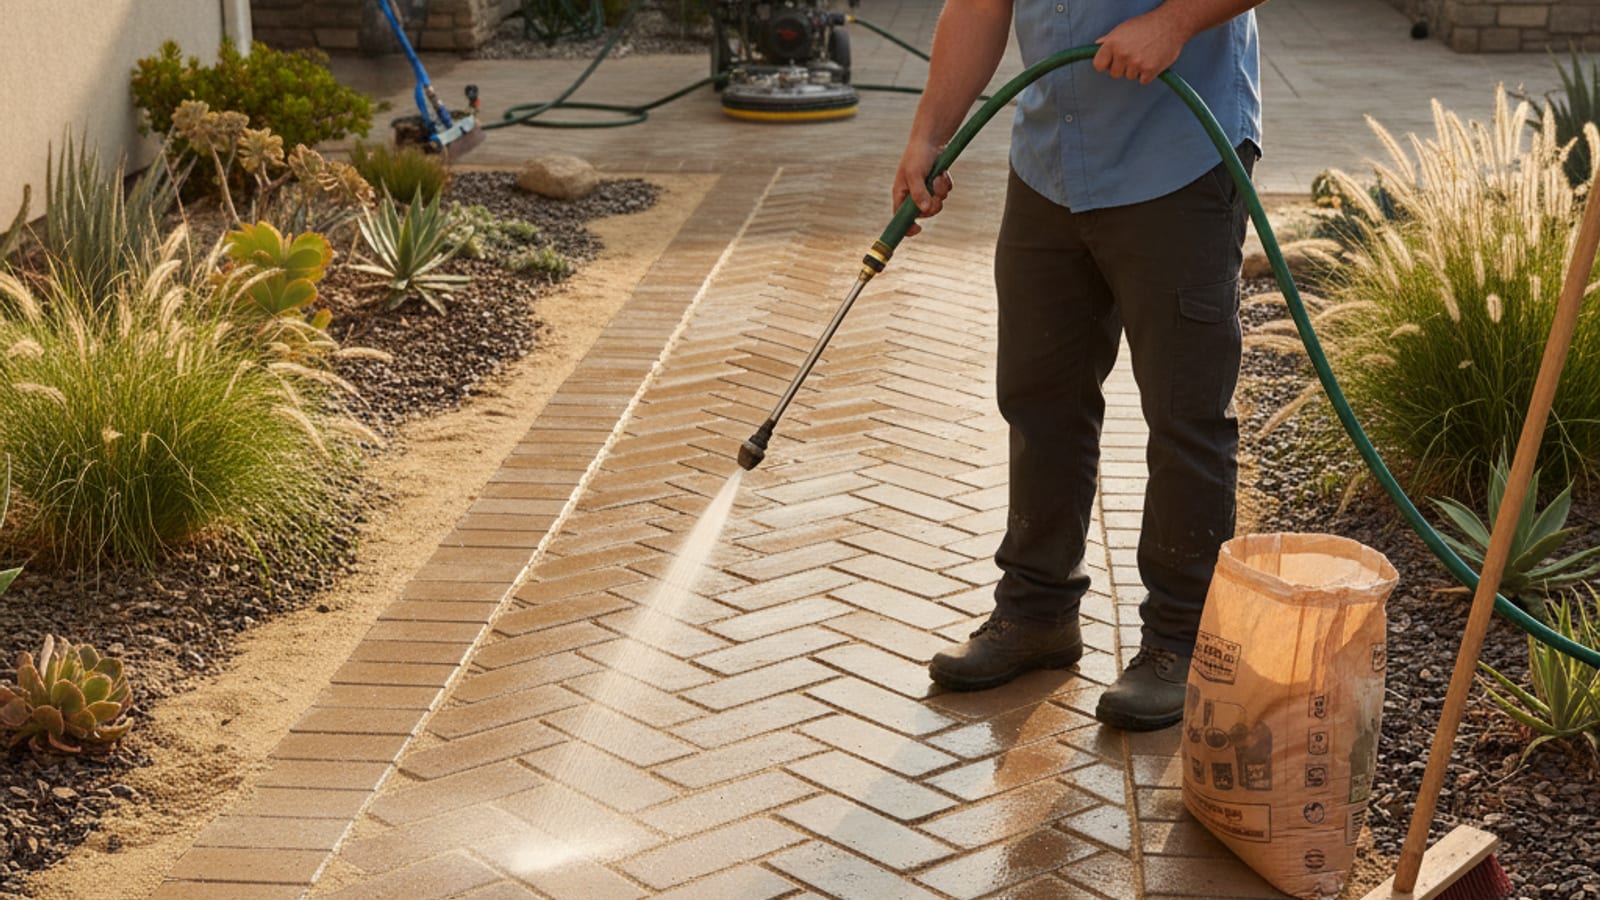
7. Activate with water
Use a garden hose with a fan-spray nozzle. Mist (don’t blast) the paver surface until the sand in the joints is saturated but not running out. Most manufacturers specify a two-pass misting process: first mist, wait 2 minutes, second mist. Stop short of running water, runoff washes sand out.
8. Keep dry for 24 to 72 hours
No irrigation, no rain, no foot traffic until the polymer fully sets. Summer heat speeds it up (24 hours often enough). Cooler spring or fall weather means the full 72.
When to seal (and when not to)
Paver sealing is a separate step from sanding. Sealer applies on top of the finished, set, clean pavers and does three things:
- Protects color from UV fade
- Resists staining from oil, food, and biological growth
- Stabilizes the joint sand from above (sealer soaks into the top layer of sand and bonds it)
Reseal schedule:
- Every 3 to 4 years for high-use driveways and pool decks
- Every 4 to 5 years for patios and walkways
Two types of paver sealer:
- Solvent-based acrylic: produces a “wet look” with noticeable gloss. Enhances color dramatically. 2-to-3-year lifespan in full sun.
- Water-based acrylic: matte or natural finish. Less color enhancement. 4-to-5-year lifespan. Lower VOC (better for homeowners sensitive to fumes).
Both are rolled or sprayed on, two thin coats, 4 hours between coats, 24 hours before walking. Most pros use a pump sprayer and a lamb’s-wool roller combination.
Never apply sealer on top of dirty pavers or worn sealer without cleaning first. Old degraded sealer under fresh sealer produces a cloudy, peeling mess within a year. The right sequence is always: clean, let dry, re-sand if needed, let cure, then seal.
For full paver scope work we recommend our paver and stone cleaning service, cleaning, re-sanding, and sealing as a combined job that gets the sequence and cure times right.
Color choice and matching existing sand
When re-sanding, you’ll want to match the color of the existing polymeric sand as closely as possible. Most major brands offer:
- Natural tan
- Beige
- Slate gray
- Dark gray
- Charcoal/black
If you don’t know what was originally installed, bring a clean sample of the old sand (scoop a tablespoon from a joint) to a landscape supply store and match it by eye. Going too dark makes the paver edges look heavier than they are; going too light makes the pattern look weaker.
What San Diego specifically does to pavers
Three local factors affect paver wear more than national averages:
- Coastal salt. Pavers within 2 miles of the ocean see accelerated sealer breakdown from salt aerosol. Reseal at the 3-year mark, not 5.
- Marine-layer moisture. Pavers in shaded areas get colonized with algae and moss much faster than inland. Clean before the growth embeds (typically every 18 to 24 months).
- Santa Ana dust. Inland neighborhoods see sand and fine-grain dust accumulate in joints, especially on east and north-facing paver installations. Sweep regularly to keep joints visible.
When to call a pro vs DIY
DIY is feasible for a small patio with good access and straightforward geometry. Allow a full weekend for the clean + sand + seal sequence. Budget about $150 to $300 in supplies for an average residential patio.
Hire a pro when:
- The paver area is over 500 square feet
- Any stones have shifted or are sitting unevenly (needs re-bedding, not just re-sanding)
- You want sealing done the same week as cleaning (timing is tight)
- You’ve got stained or chipped pavers that need targeted spot work
- The job involves a driveway (heavier use, must be done right)
Our paver cleaning, re-sanding, and sealing service handles the full sequence with the right product selection. Most residential paver jobs run $0.70 to $1.50 per square foot for clean + sand, additional $0.60 to $1.20 per square foot for sealing.
Call (858) 925-5546 or send us paver photos through the contact form. We’ll walk you through what your specific installation needs and when. Upfront pricing, serving all of San Diego County from Oceanside down to Imperial Beach and inland to Ramona.